Creating a New Recipe#
This section describes how to create a new application recipe in FlexiVision One. A recipe is the main container that includes all the part models, FlexiBowl®/Hopper configurations and robot parameters required for a complete picking application.
Note
Create a new recipe when:
Working with a completely different type of part
Changing application
There is NO need to create a new recipe when:
You add a face of the same part (create new model in the same recipe for the same part in different positions)
You make small adjustments to existing parameters (cam exposure)
You only change the accept threshold, score threshold, etc.
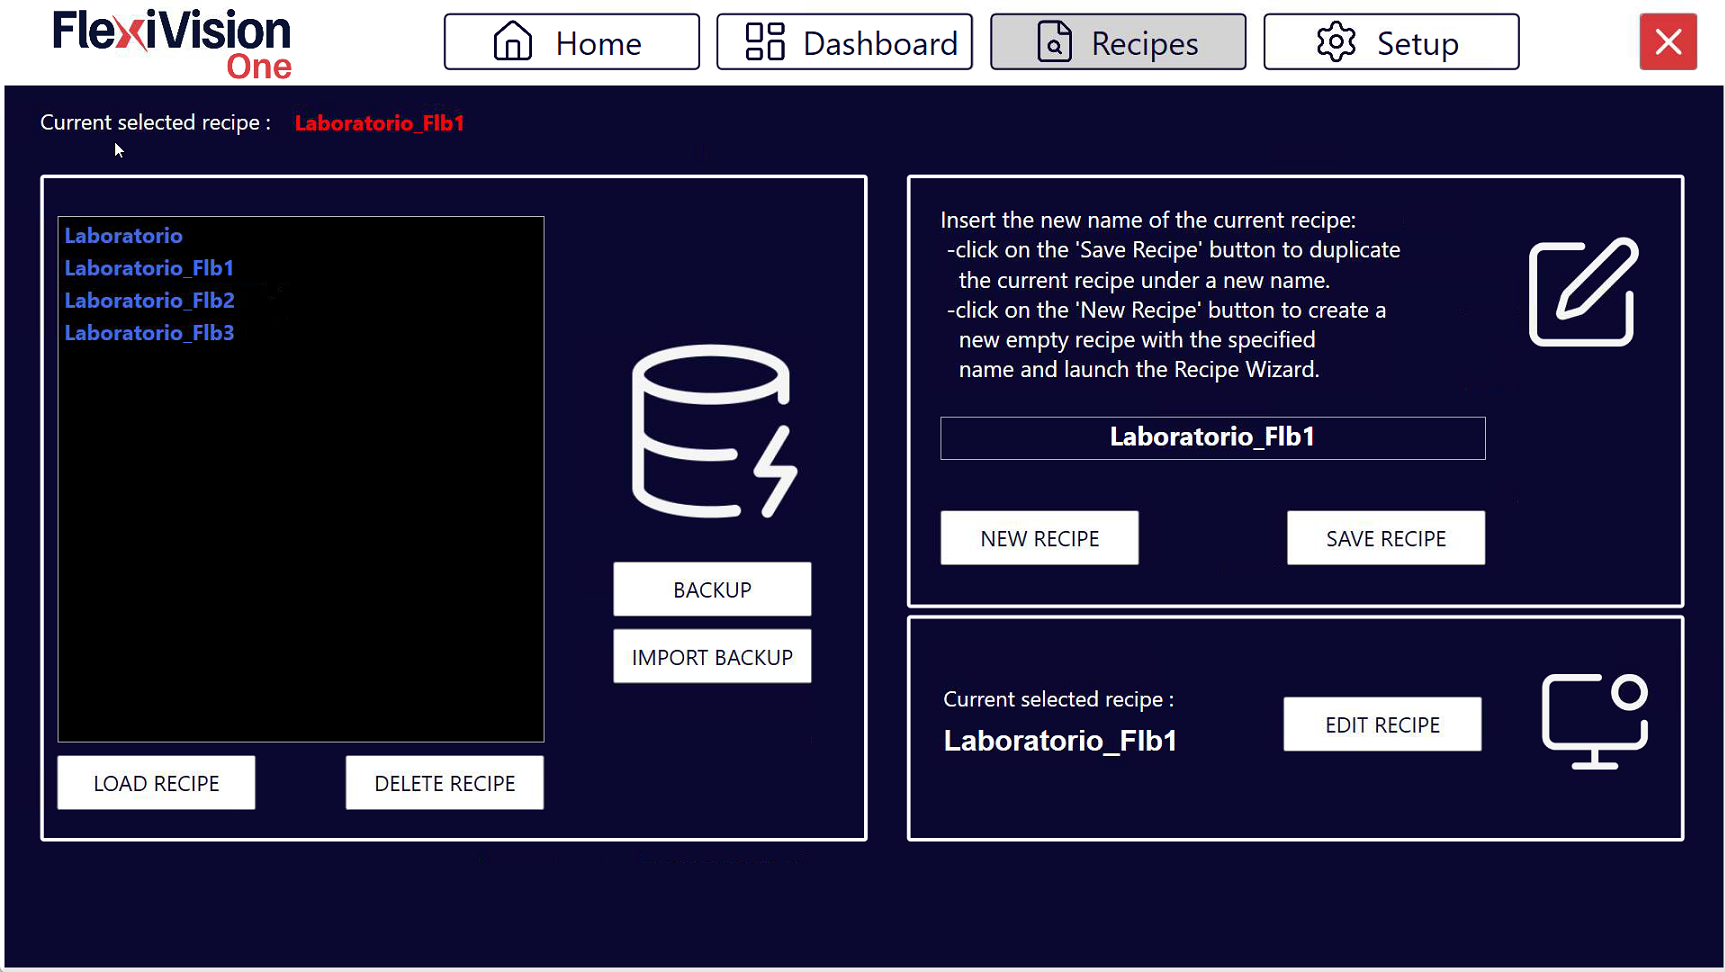
Interface overview#
Before proceeding with model training, get to know the Recipes interface.
Saving basic recipe#
Before proceeding, make sure you have saved the basic recipe created during the initial setup:
1 |
From the home page, click |
2 |
Check that the current recipe is the basic recipe (e.g: “Basic_Recipe” created during the setup) |
3 |
Click |
4 |
Keep the same name in the save field (you are overwriting the recipe with the updated configurations) |
5 |
Confirm saving |


Important
Why save the basic recipe?
The basic recipe contains all hardware configurations completed during setup:
FlexiBowl® connection (IP, parameters)
Hopper connection
Robot connection (TCP/IP port)
Camera calibration
Having a ready-made basic recipe makes it possible to reuse all these configurations without having to repeat them.
Step 1: Duplicate the basic recipe#
To start with the creation of the first model, and thus with the configuration of a new application, it is always advisable to duplicate the basic recipe you have just saved. This is useful because it allows you to keep all newly configured setups saved separately. And this is advantageous for two reasons:
To start a new application with the same system, you do not have to repeat all the steps you have done so far
If you change only one element in the configuration, you can keep the setups of all other components valid
6 |
From the home page of the FlexiVision One software, click |
7 |
The recipe management page opens with a list of all existing recipes |
8 |
Select the Basic Recipe |
9 |
Duplicate the Basic Recipe |
10 |
Click Load Recipe |
11 |
Check in the top bar that the name displayed is that of the new recipe Warning Always work on the correct recipe With several recipes present, always check that the correct one is selected before starting modifications. Modifications applied to the wrong recipe require the work to be redone. |
Step 2: Naming the Recipe#
Before clicking ‘Save Recipe’, choose a descriptive name.
12 |
Rename the Duplicate Recipe Recommended conventions:
Tip Avoid generic names ❌ Names to avoid:
✓ Recommended names:
Suggested format: A clear name makes it easier to manage when there are many different recipes. |
Warning
Backup recipes
After creating and configuring a recipe:
Use the software’s backup function (Backup Management)
Periodically export recipes to external media
Record critical parameters on paper/digital media
A well-configured recipe represents hours of work. Protecting it properly prevents data loss.
Next steps#
Tip
What you need for the next step
Physical parts to be identified (at least 10-15 parts)
FlexiBowl® empty and clean
If the robot tool we are using is a gripper, we will also need two objects other than the parts having the model made to be used as simulators for the tool’s footprint.
Sheet for writing down robot coordinates (X, Y, RZ)